Interactive explainer
Your roof, layer by layer
Pick a layer to lift it out of the stack and see what it does, why it matters and how it shows up on your quote.
Layer 1 of 8
Roof deck
The wood base everything nails into
Plywood or OSB sheets, or original plank boards on older Denver homes. We inspect every sheet after tear-off and replace soft or delaminated wood at a posted per-sheet price.
7/16 inch OSB is our standard replacement sheet
Layer 2 of 8
Drip edge
Metal that steers water into gutters
L-shaped metal flashing along eaves and rakes. It keeps water from wicking back under shingles and rotting the fascia. Required by code on new roofs in most Front Range cities.
Installed under underlayment at eaves, over it at rakes
Layer 3 of 8
Ice and water shield
Self-sealing membrane for problem spots
A rubberized membrane that seals around nails. We run it at least 24 inches inside the warm wall at eaves, in every valley and around chimneys, skylights and pipes, where ice dams and wind-driven rain attack.
Our Best package covers the full deck
Layer 4 of 8
Synthetic underlayment
The second waterproof line of defense
Tear-resistant woven synthetic sheets cover the rest of the deck. Far stronger than old felt paper, it stays intact in chinook winds while the crew works and sheds water if a shingle ever blows off.
Overlapped 4 inches, fastened with cap nails
Layer 5 of 8
Starter strip
Sealant row that locks the first course
A pre-cut strip with factory sealant at eaves and rakes. It bonds the first row of shingles so wind cannot get underneath, which is critical for keeping the manufacturer wind rating valid.
Skipping it is the number one cause of blow-offs
Layer 6 of 8
Shingles
The weather surface you see
Architectural or Class 4 impact-resistant shingles, nailed with a high-wind pattern. Ceramic-coated granules block the intense UV at 5,280 feet that ages roofs faster here than at sea level.
Class 4 shingles survive a 2-inch steel ball drop test
Layer 7 of 8
Step and counter flashing
Metal where the roof meets walls
Individual L-shaped pieces woven into each shingle course along walls and chimneys, covered by counterflashing. This is where cheap roofs leak first, so we never reuse old flashing.
One step flashing piece per shingle course
Layer 8 of 8
Ridge vent and caps
Lets the attic breathe out
A continuous vent along the peak, covered with thick ridge cap shingles. Balanced with soffit intake, it keeps attics cooler in July, drier in January and helps stop ice dams.
Aim for a 50/50 split of intake and exhaust
Roof anatomy
What is really under your shingles
A roof is a system of 8 layers, not just shingles. Scroll through each one from the deck up, so every line on your quote makes sense.
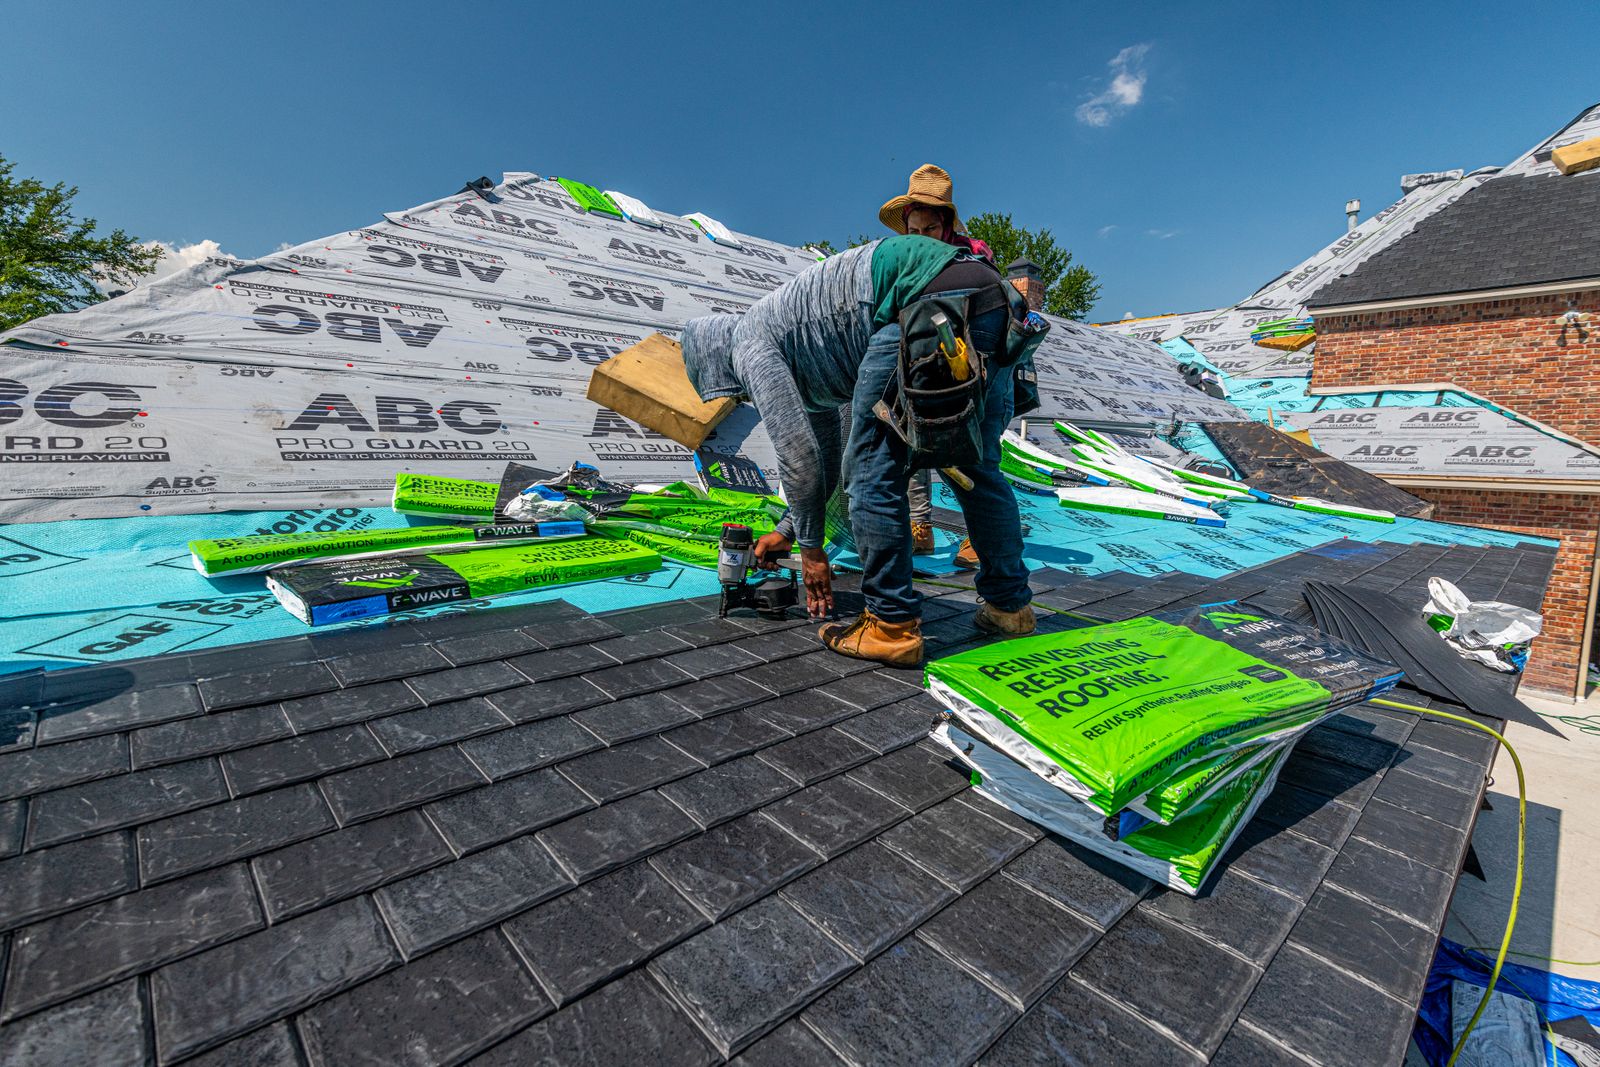
- Layer 1 of 8
Roof deck
The wood base everything nails into
Plywood or OSB sheets, or original plank boards on older Denver homes. We inspect every sheet after tear-off and replace soft or delaminated wood at a posted per-sheet price.
7/16 inch OSB is our standard replacement sheet
- Layer 2 of 8
Drip edge
Metal that steers water into gutters
L-shaped metal flashing along eaves and rakes. It keeps water from wicking back under shingles and rotting the fascia. Required by code on new roofs in most Front Range cities.
Installed under underlayment at eaves, over it at rakes
- Layer 3 of 8
Ice and water shield
Self-sealing membrane for problem spots
A rubberized membrane that seals around nails. We run it at least 24 inches inside the warm wall at eaves, in every valley and around chimneys, skylights and pipes, where ice dams and wind-driven rain attack.
Our Best package covers the full deck
- Layer 4 of 8
Synthetic underlayment
The second waterproof line of defense
Tear-resistant woven synthetic sheets cover the rest of the deck. Far stronger than old felt paper, it stays intact in chinook winds while the crew works and sheds water if a shingle ever blows off.
Overlapped 4 inches, fastened with cap nails
- Layer 5 of 8
Starter strip
Sealant row that locks the first course
A pre-cut strip with factory sealant at eaves and rakes. It bonds the first row of shingles so wind cannot get underneath, which is critical for keeping the manufacturer wind rating valid.
Skipping it is the number one cause of blow-offs
- Layer 6 of 8
Shingles
The weather surface you see
Architectural or Class 4 impact-resistant shingles, nailed with a high-wind pattern. Ceramic-coated granules block the intense UV at 5,280 feet that ages roofs faster here than at sea level.
Class 4 shingles survive a 2-inch steel ball drop test
- Layer 7 of 8
Step and counter flashing
Metal where the roof meets walls
Individual L-shaped pieces woven into each shingle course along walls and chimneys, covered by counterflashing. This is where cheap roofs leak first, so we never reuse old flashing.
One step flashing piece per shingle course
- Layer 8 of 8
Ridge vent and caps
Lets the attic breathe out
A continuous vent along the peak, covered with thick ridge cap shingles. Balanced with soffit intake, it keeps attics cooler in July, drier in January and helps stop ice dams.
Aim for a 50/50 split of intake and exhaust
See these layers on your roof
A free inspection includes drone photos and an attic check, so you can see exactly what is under your shingles.
- No-obligation visit
- From $129/mo (sample)
- 4.9 average rating (sample)